Key Takeaways
- Non-custodial wallets give you full control of your crypto — only you hold the private keys.
- Setting one up in 2025 takes minutes using trusted apps like MetaMask, Trust Wallet, or Ledger.
- Always back up your recovery phrase securely; losing it means losing your funds permanently.
How to Set Up a Non-Custodial Crypto Wallet
As cryptocurrency adoption grows in 2025, more users are choosing non-custodial wallets — tools that allow you to truly own your digital assets without relying on exchanges or third parties.
If you’ve ever wondered how to take control of your crypto and protect it from hacks or platform failures, this guide will walk you through how to set up a non-custodial wallet safely and confidently.
What Is a Non-Custodial Wallet?
A non-custodial wallet is a type of crypto wallet that gives you complete ownership of your private keys — the cryptographic codes that prove your control over your funds.
In contrast, a custodial wallet (like those on exchanges such as Binance or Coinbase) holds your private keys for you. While convenient, it also means you rely on the platform’s security and policies.
With a non-custodial wallet, you are your own bank. No one — not even the wallet provider — can access or freeze your assets.
Why Choose a Non-Custodial Wallet in 2025
The shift toward self-custody has accelerated after multiple high-profile exchange collapses and data breaches in past years.
In 2025, users are increasingly prioritizing security, privacy, and independence. Here’s why non-custodial wallets are essential:
- You control your assets: No third party can access or restrict your funds.
- Enhanced privacy: Transactions are tied only to your blockchain address, not your identity.
- Compatibility with DeFi and Web3: Non-custodial wallets connect directly to decentralized apps (dApps), staking platforms, and NFTs.
This control comes with responsibility — you must secure your wallet and recovery phrase to avoid irreversible loss.
Step 1: Choose the Right Wallet Type
Non-custodial wallets come in two main categories:
🔹 Software Wallets (Hot Wallets)
These are apps or browser extensions connected to the internet. They’re easy to set up and great for everyday transactions.
Popular options in 2025 include:
- MetaMask: Ideal for Ethereum and Layer 2 networks.
- Trust Wallet: Supports multiple blockchains, user-friendly for beginners.
- Phantom: Built for Solana users and DeFi explorers.
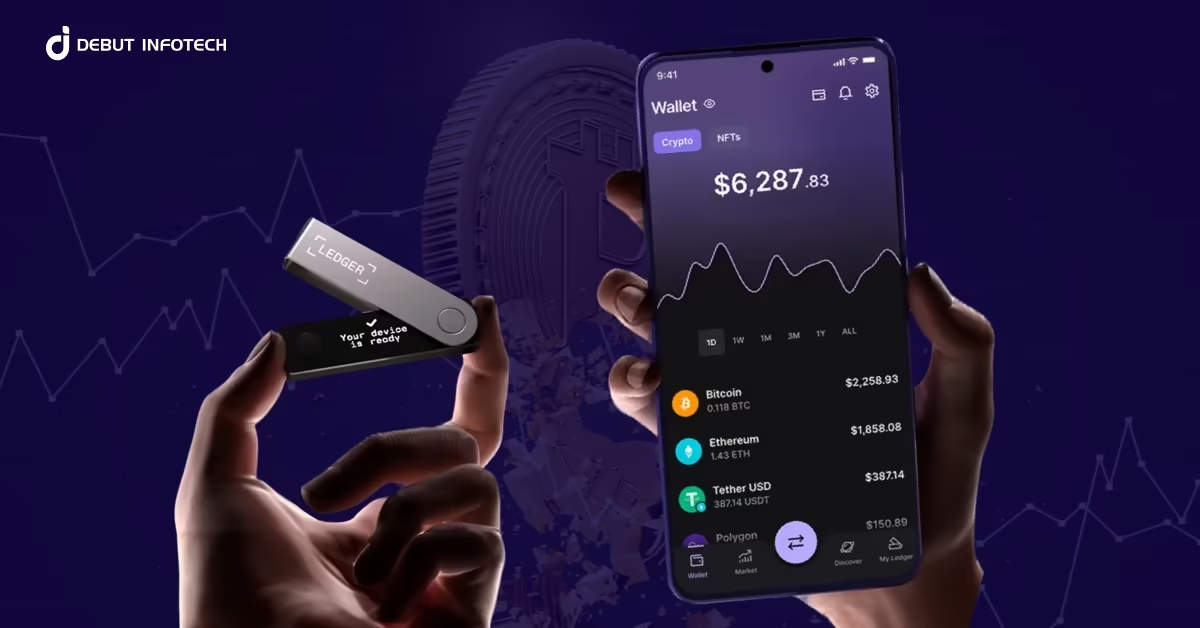
🔹 Hardware Wallets (Cold Wallets)
These are physical devices that store your private keys offline, offering the highest level of security.
Top brands:
- Ledger Nano X / Stax
- Trezor Model T
If you’re investing for the long term, combining both (hot for daily use, cold for storage) offers the best balance of access and safety.
Step 2: Download or Purchase Your Wallet
For Software Wallets:
- Visit the official website or app store of the wallet.
- Avoid links shared on social media or unfamiliar websites to prevent phishing.
- Download the extension (for browsers like Chrome) or install the mobile app.
For Hardware Wallets:
- Purchase directly from the manufacturer’s official store to ensure authenticity.
- Follow the included setup instructions using the device’s display and secure PIN code.
Step 3: Create Your Wallet and Secure Your Recovery Phrase
When you open your wallet for the first time, you’ll be prompted to create a new wallet.
You’ll then be shown a recovery phrase (also known as a seed phrase) — typically 12 or 24 random words.
This phrase is the master key to your crypto. If your device is lost, stolen, or damaged, it’s the only way to recover your funds.
Do:
- Write the recovery phrase on paper and store it in a safe, offline location.
- Consider using a metal backup to prevent damage from fire or water.
- Keep multiple copies in secure places.
Don’t:
- Store it digitally (e.g., in cloud storage or screenshots).
- Share it with anyone — no support team will ever ask for it.
Once you’ve confirmed your recovery phrase, your wallet is ready.
Step 4: Add Funds to Your Wallet
To start using your wallet, you’ll need to deposit cryptocurrency.
- Go to the “Receive” section in your wallet.
- Copy your public wallet address (a long string starting with “0x” for Ethereum or “bc1” for Bitcoin).
- Send crypto from an exchange or another wallet to this address.
Always double-check addresses before confirming a transaction. Crypto transfers are irreversible.
After a few minutes, your funds should appear in your wallet — fully under your control.
Step 5: Connect to Web3 and DeFi Apps
One of the biggest advantages of a non-custodial wallet is access to the decentralized web (Web3).
You can connect your wallet directly to:
- DeFi platforms for staking, lending, and trading.
- NFT marketplaces like OpenSea or Magic Eden.
- Blockchain games and metaverse platforms.
When connecting, ensure the app is legitimate — malicious websites can attempt to steal assets. Disconnect from dApps you no longer use.
Step 6: Keep Your Wallet Secure
Even the best wallets are only as safe as your habits. Follow these best practices:
- Enable biometric or password protection on your wallet app.
- Use two-factor authentication (2FA) for exchange logins.
- Regularly update your wallet software to patch vulnerabilities.
- Avoid connecting to public Wi-Fi when managing your crypto.
If you suspect your wallet has been compromised, transfer your funds to a new one immediately.
Conclusion
Setting up a non-custodial crypto wallet in 2025 is simpler than ever — and one of the smartest steps you can take toward financial freedom.
By taking control of your private keys, you eliminate the risks of centralized custody and gain direct access to the expanding world of decentralized finance.
Just remember: with freedom comes responsibility. Protect your recovery phrase, stay alert to scams, and your wallet will serve as your personal vault in the digital economy of 2025 and beyond.